
Quick verdict
It Is Easy Enough, But It Is Not a Quick Install
If you can follow a template, keep pieces organized, and work patiently, an Enjoy The Wood map is very doable. The risk is not technical difficulty. The risk is rushing, placing small islands casually, or starting without enough time.
Our 4-5 hours is one owner's experience, not a guaranteed duration for every XL map. Reserve an unhurried block of time and use the instructions supplied with your model.
Our Installation Setup
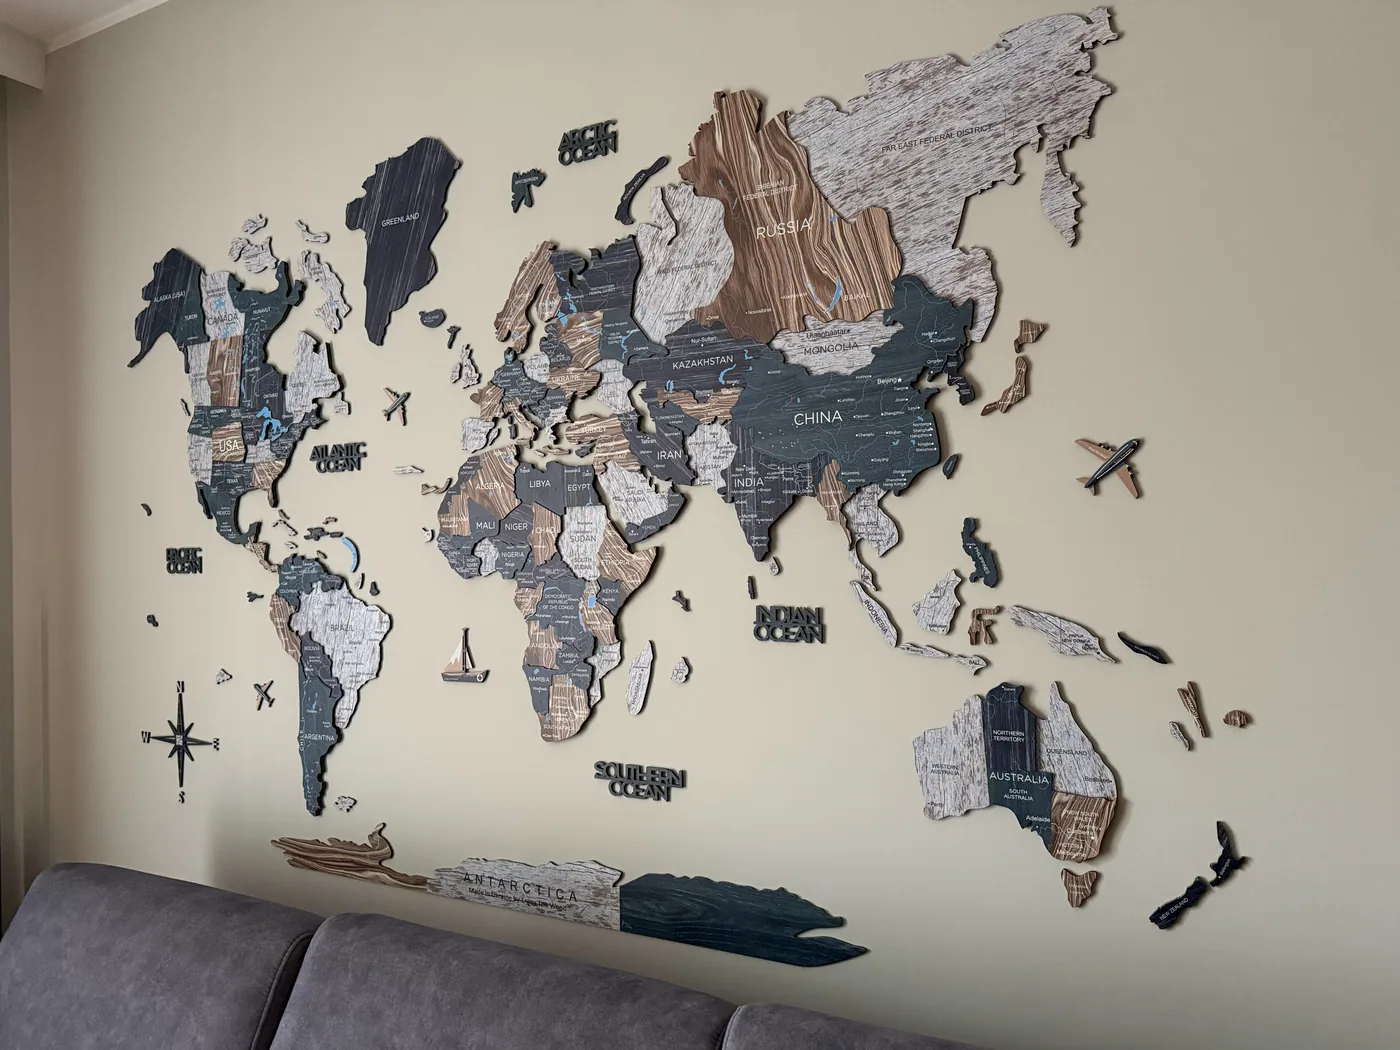
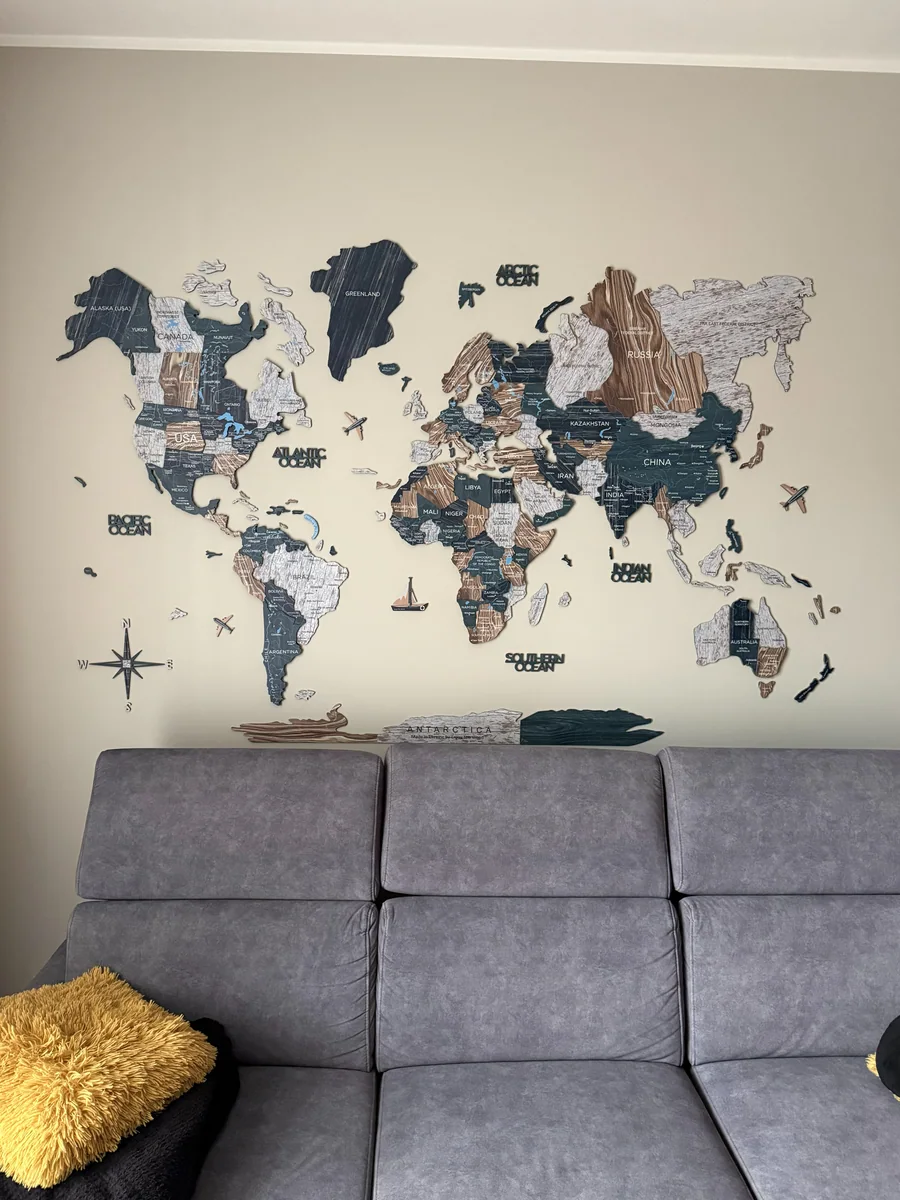
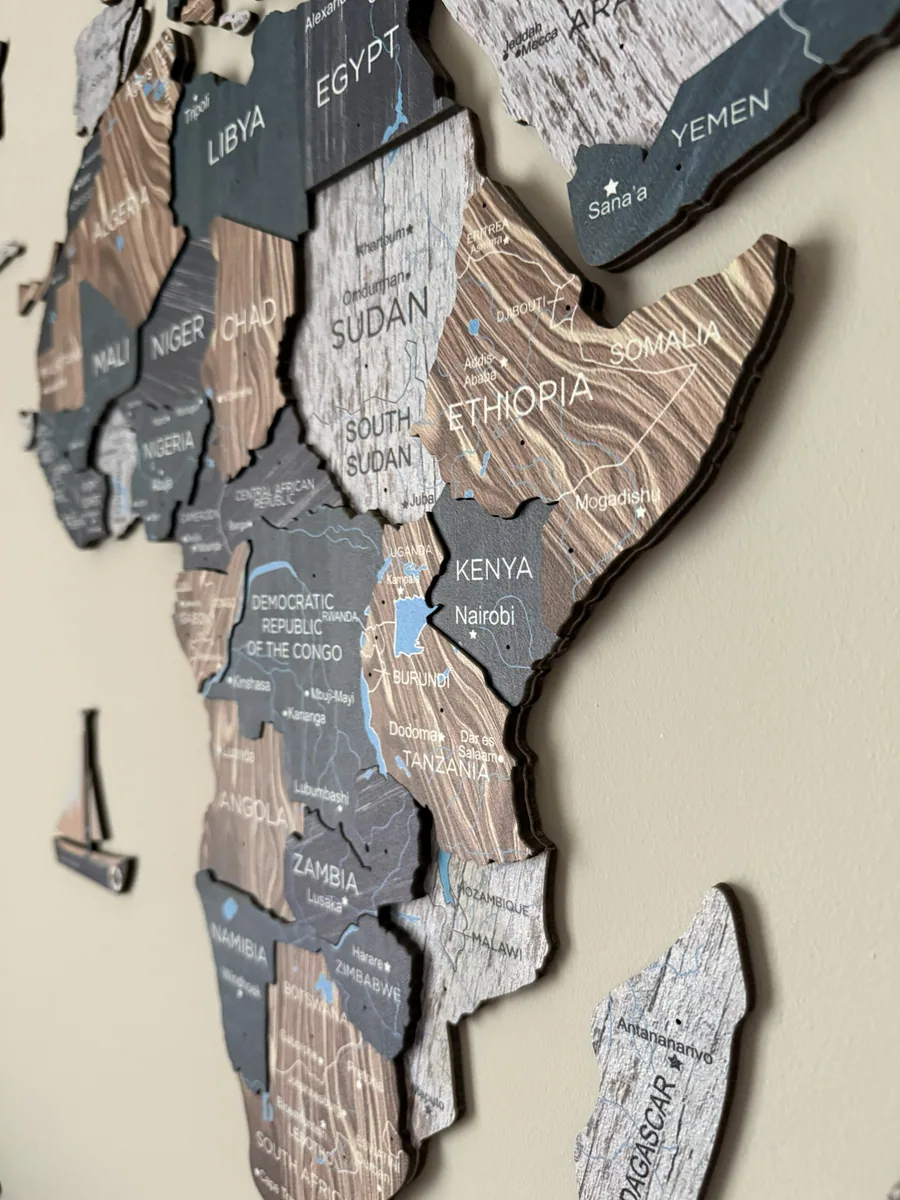
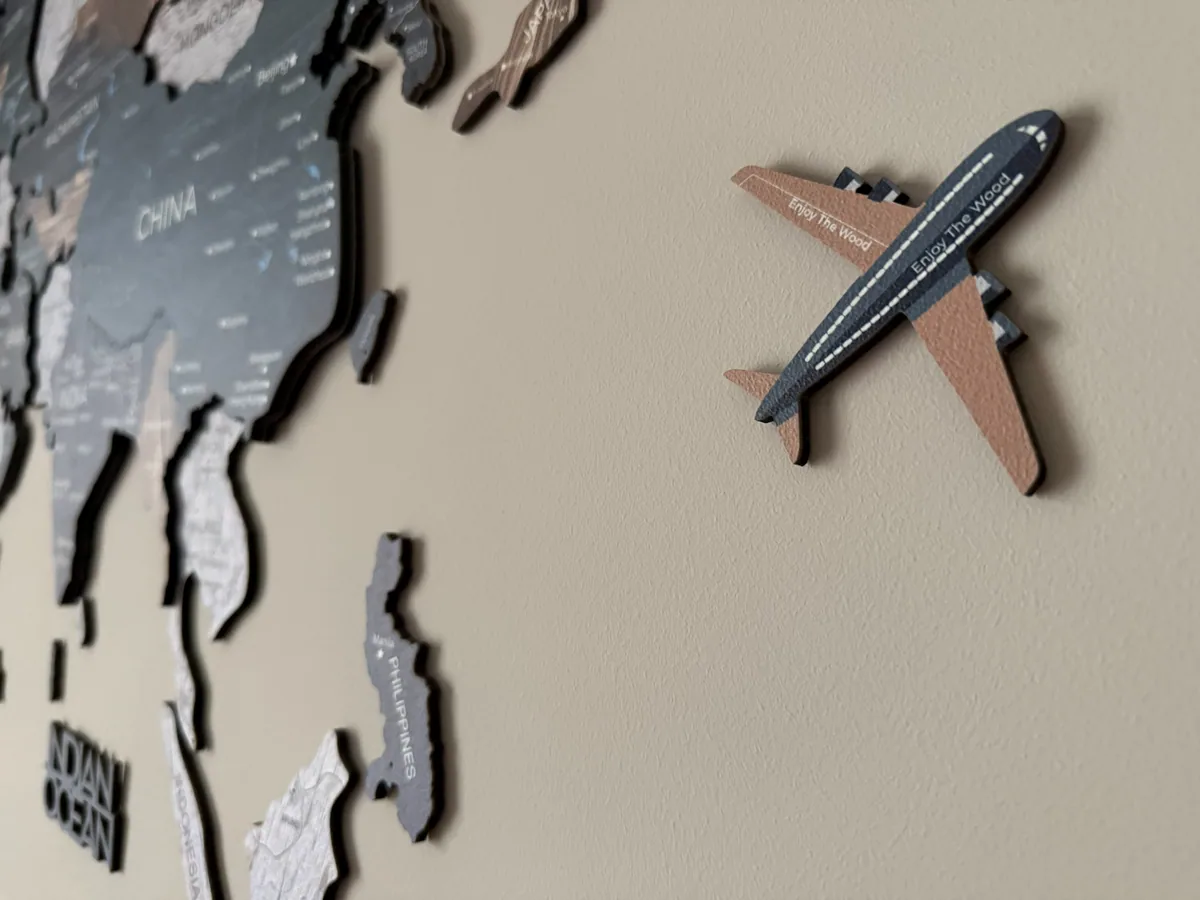
The owner reported the total time and the difficult part; the preparation advice below is not a separately timed installation test. See the owner review and close-ups of the separate map pieces for the appearance of the installed map.
This guide is based on a real installation of the 3D Luminous Colored Wooden World Map in XL. The manufacturer's Luminous size listinggives XL as 47 x 79 inches, or about 120 x 200 cm. That is a size reference, not identification of our map's precise color option; check the dimensions on the listing for your own configuration.
| Map installed | 3D Luminous Colored Wooden World Map |
|---|---|
| Size | XL - 47 x 79 in / about 120 x 200 cm |
| Install time | About 4-5 hours |
| Difficulty | Mostly straightforward, but slow |
| Hardest part | Placing the small islands accurately |
| Box contents | Everything needed for a normal install was included |
What Comes in the Box?
Our map owner reported that everything needed for installation was in the box. We did not keep a complete item-by-item inventory or an unboxing photo, so this is not a promise about the accessories in every current bundle. Check the listing and supplied instructions for the exact map you choose.
I would still keep a level, painter's tape, a pencil, and a clean cloth nearby. Those are not exciting tools, but they make the difference between a careful install and a slightly stressful one.
What to Prepare for a 4-5-Hour Installation
Our reported total was 4-5 hours. We did not time each stage separately, so there is no measured minute-by-minute breakdown. The small islands took the most time because their positions were not obvious. Use this checklist to prepare, not as a timetable that every installation will follow.
Planning and wall prep
Measure the wall, decide the height, clean the surface, and get the first alignment right.
Main continents
Identify the main pieces and use the positioning instructions supplied with your map. Establish the layout before attaching the smaller pieces.
Small islands
This was the slowest part in our setup. As preparation, identify the islands and their positions while the placement reference is visible, before exposing adhesive.
Accessories and final checks
Check where the separate labels and accessories belong, step back to inspect the overall arrangement, and follow the supplied instructions for fixing each piece.
The Hardest Part: Small Islands
The big pieces are relatively straightforward because their shapes give you obvious reference points. The small islands are different. They are tiny, there are many of them, and you can spend a surprising amount of time checking the guide because you do not want a piece floating in a strange place.
This is the one part I would not rush. Sort the islands by region first. Keep the instruction sheet visible. Place a few pieces, step back, and check the overall look before committing to the next cluster.
Before You Stick Anything to the Wall
Do not start late at night
An XL map is not a 30-minute decor job. If you start tired, the small pieces become much more annoying than they need to be.
Sort islands before peeling tape
Keep small pieces grouped by region. Once adhesive is exposed, you do not want to be searching for where a tiny island belongs.
Step back constantly
A piece can look right from 20 cm away and slightly wrong from sofa distance. Check the whole wall after every major region.
Protect the paint decision
The included tape is convenient, but adhesive wall decor can mark paint when removed. Be especially careful in rentals or on delicate finishes.
Is XL Worth the Extra Installation Time?
In our room, XL fills a large area above the sofa and shows the layered pieces clearly. We installed this size, not a set of different sizes side by side. Use the original room photo to judge the style, then measure your own wall before deciding whether XL is worth the installation work for you.
The caveat is measuring. If you are choosing between L and XL, read the Enjoy The Wood size guide first. XL looked right in our room, but that does not mean it is automatically right for every sofa wall, hallway, or apartment.
Buyer note
Installation Should Affect Which Size You Buy
If you will be installing the map yourself, allow time for both the large pieces and the islands. For a gift, confirm the recipient's clear wall space and willingness to install it rather than choosing L or XL by the size label alone.
Also check the current price, shipping estimate, and discount code before ordering. The installation may be the afternoon project, but the size and checkout decision happen before the box arrives.
Planning to order one?
Measure the wall first, choose the right size, then test the current discount code at checkout before paying.
Frequently Asked Questions
How long does it take to install an Enjoy The Wood map?
For our XL 3D Luminous Colored Wooden World Map, the installation took about 4-5 hours. Smaller maps may be faster, but an XL map is best treated as a half-day project rather than a quick wall decor job.
Is an Enjoy The Wood map hard to install?
The main installation is not technically hard. The difficult part is patience: keeping the map level, placing the small islands, and not rushing once the large pieces are already on the wall.
What was the hardest part of the installation?
The small islands took the most time because it was not always obvious exactly where each one should go. Sorting the pieces by region before attaching them helps a lot.
Does the Enjoy The Wood box include what you need?
Our map owner reported that everything needed for installation was in the box. We did not keep a complete inventory or an unboxing photo. Check the current listing for your configuration; a level and clean cloth can be useful preparation tools.
Should I buy XL if I am worried about installation?
XL is manageable if you have time and patience. The bigger question is wall size: measure first. If the wall is right, the larger size is worth considering because it gives the map stronger room presence.